Creating a New Project from a Template
MadCap Flare provides a number of templates from which you can start new projects. Templates include starting files of content and formatting organized into folders. MadCap Flare includes a combination of online and print templates, templates designed to be used in conjunction with online tutorials, and an empty template which contains a minimal number of starting files. When using an empty template, you must create or import most of the content for the project. This guide focuses on the Top Navigation Basic online template.
- Launch MadCap Flare.
- Select the User Interface Language you want to work in. If your desired language is not selected by default, select your desired language and then click Select.
- Click OK.
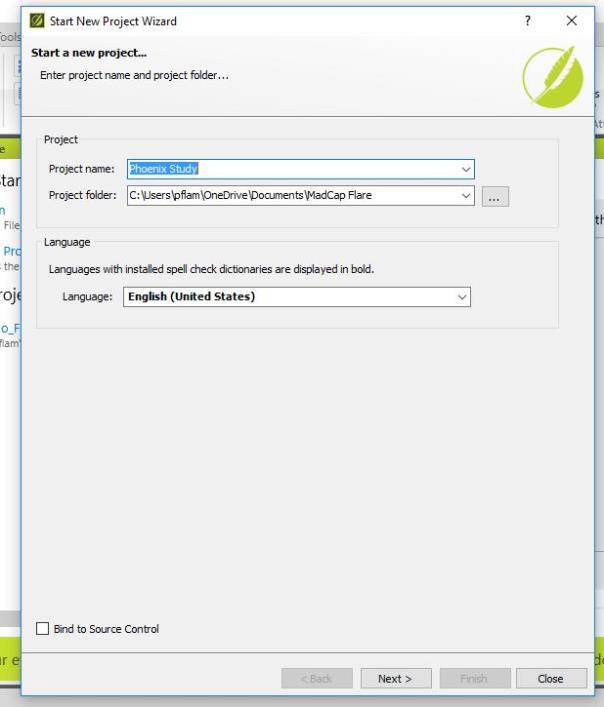
- Click New Project on the left side of the Start Page Window. The Start New Project Wizard appears.
- Type a name for the project in the “Project name” field.
- Select the location in which you want to save the project.
- If the desired location is not selected by default, click the ellipsis next to the “Project folder” drop-down menu The Browse For Folder window appears.
- Select the folder in which you want to save the project.
- Click OK.
- Select the language you want to work in from the drop-down menu next to “Language.”
- Click Next.
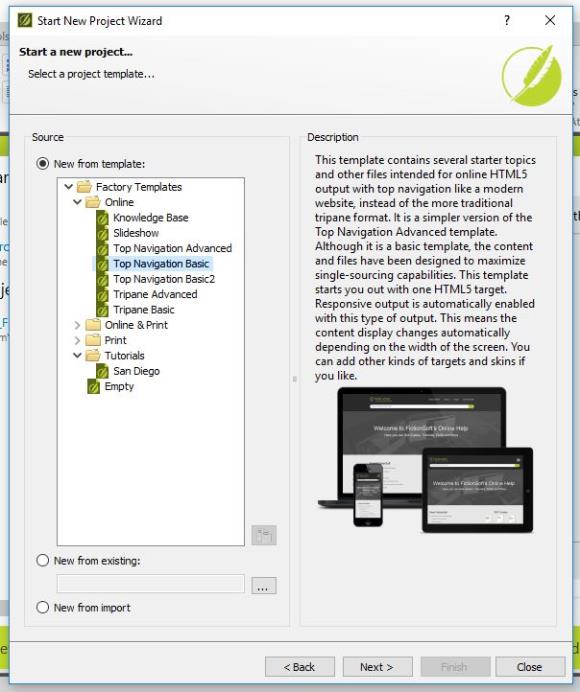
- Select the radio button next to “New from template.”
- Select Top Navigation Basic template from the Online folder. This template is useful for projects that use an HTML5 target, which this guide focuses on.
- Click Next.
- Select HTML5 as the primary target you want to use in the “Available Targets” drop-down menu. For information on PDF targets, see “Differences for PDF Output.”
- Click Finish. A new project appears.